Last weekend we started building our harvest kitchen. We were able to level the floor, lay tile and grout last week so this weekend it was time to install the kitchen cabinets. We’re eager to get this project wrapped up before the Lantern Festival (the first weekend in August) which gives us two more weekends to finish. That way we can enjoy sitting outside with our small group of friends which are coming to feast and celebrate with us.
When we bought the farmhouse, there was a kitchen already in the house. We hated it and it was much too small for American standards so we ripped it all out and the room became my office. It’s still too small for that purpose too but that’s another story. The cabinets have been sitting in a side room of the barn for 2 years now so we are thrilled to finally be using at least a couple of them for a good purpose. Hopefully we can sell the appliances left over (dishwasher & stove/oven unit) on eBay. Too bad the stove wasn’t gas or we would have spent a lot less on this project.
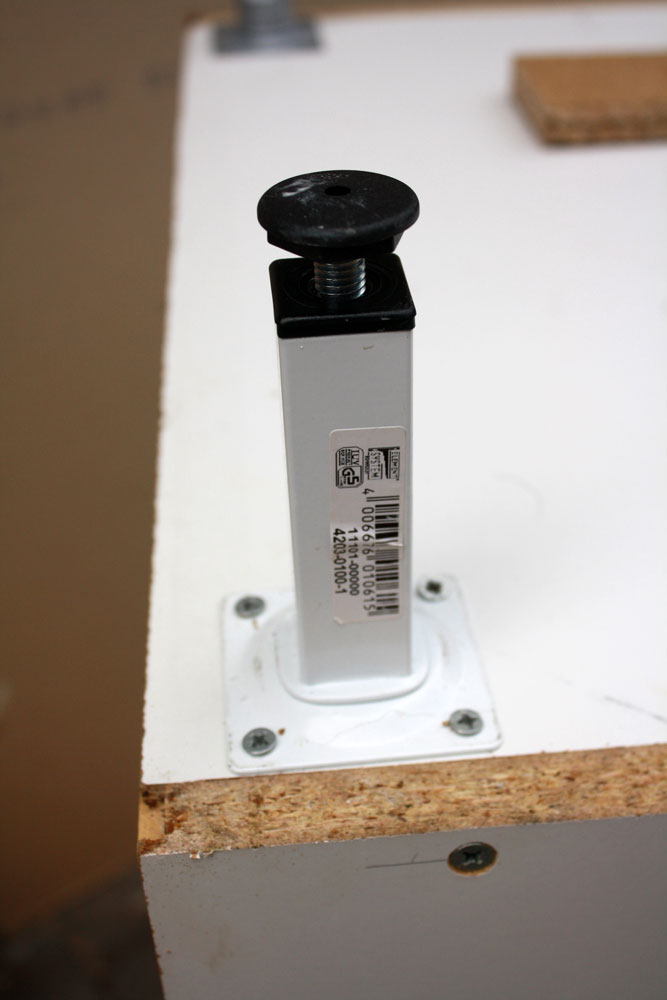
Since the walls were dingy in here after about a year’s worth of grime, I started painting everything again so it would look nice and fresh. Stefan got to work screwing on the feet for the cabinets. We considered building a wooden frame around the bottom as a base but since we’ve got uneven surfaces, these feet with adjustable heights were perfect. We never would have gotten the counter level otherwise.
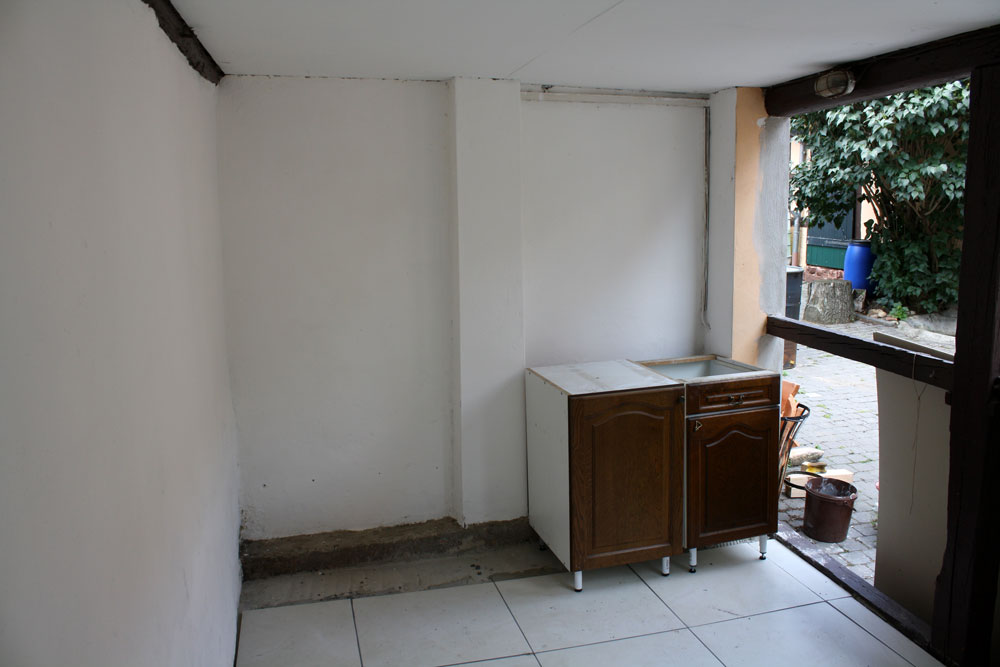
As you can see, we left one strip of floor bare. We just didn’t feel like cutting more tile and no one is ever going to see under there once we put up the blinder on the bottom. Skipping this saved us one box of tile.
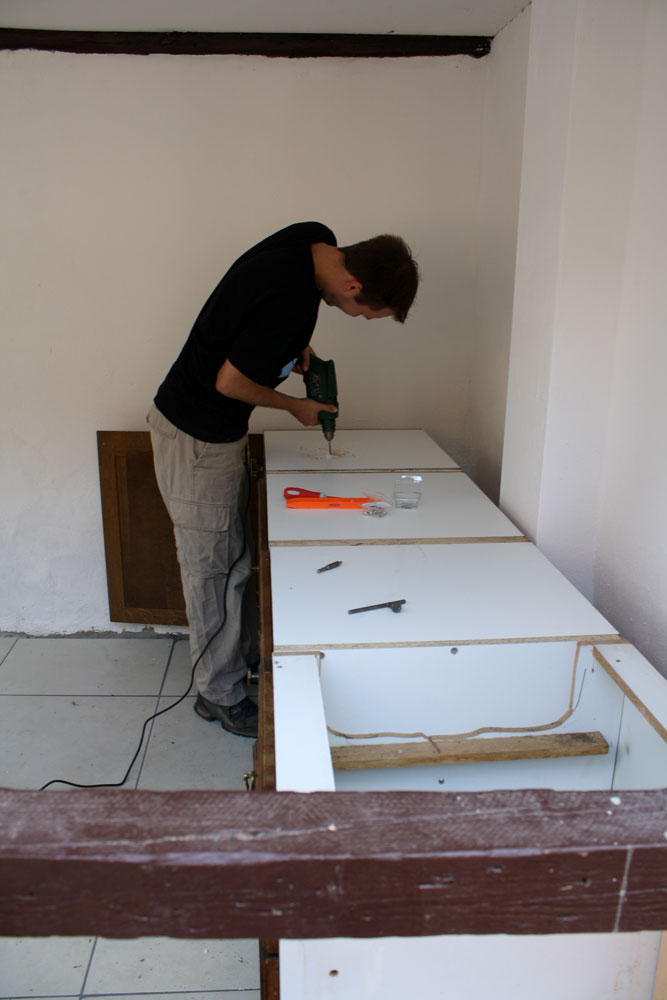
Once we had all the cabinets in place and level, Stefan screwed them all together. Then he started cutting out the top of two cabinets where the gas burners would go. He’s using the drill here to mark the corners of the holes so he can get the jigsaw in to make the rest of the cuts.
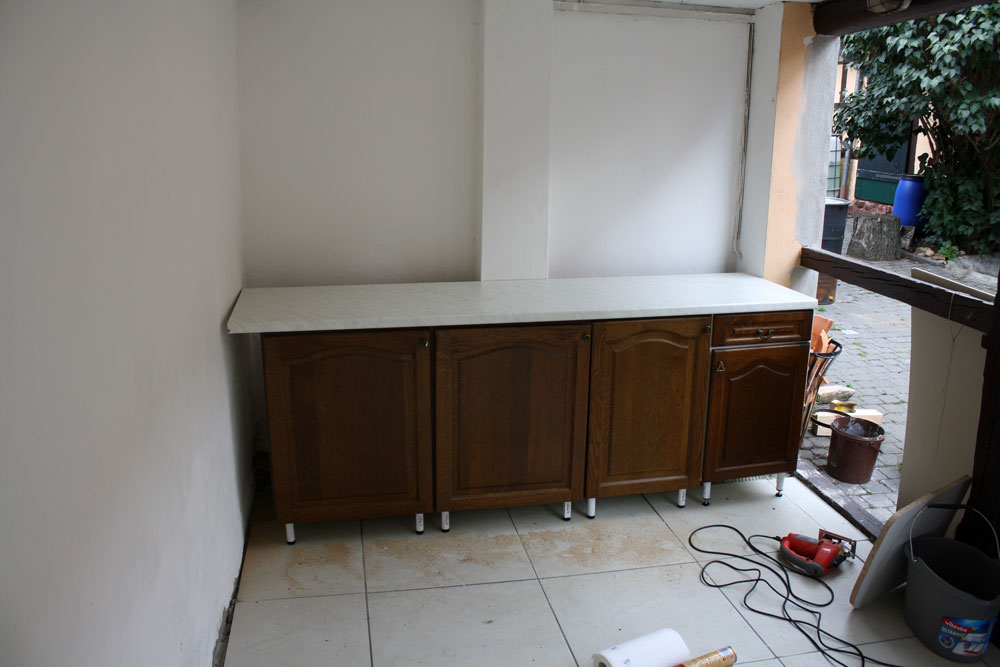
Once the holes were cut out, we laid the new counter on top. We were already started to be really pleased with the way things were looking.
Then it was time to cut holes in everything once again. Stefan marked the area for the gas panels and used his jigsaw to get the holes just right. It was a loud ordeal and I’m sure the neighbors were glad when we finished.
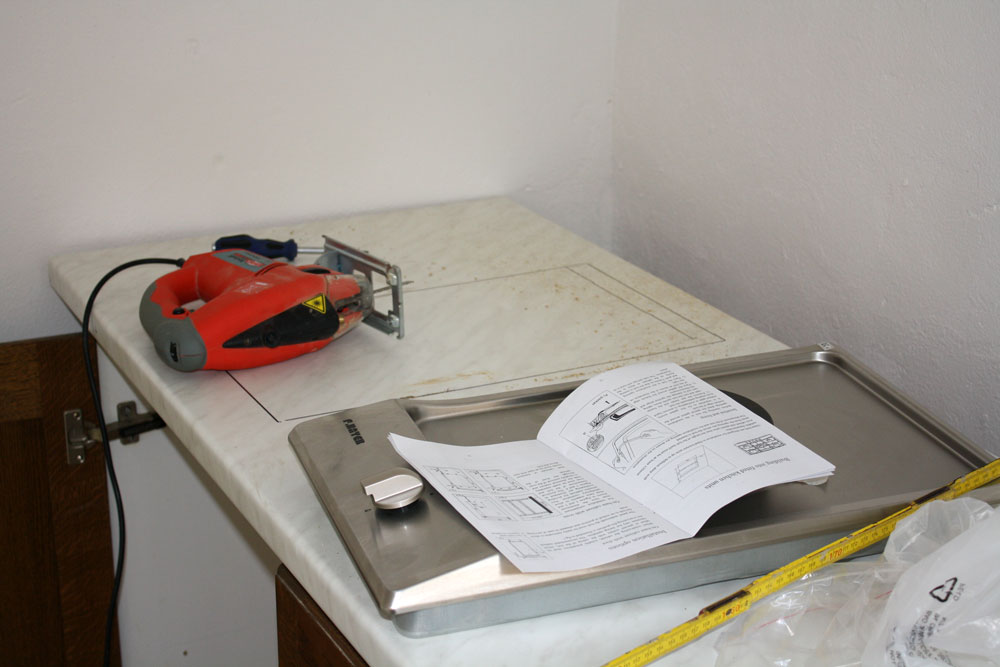
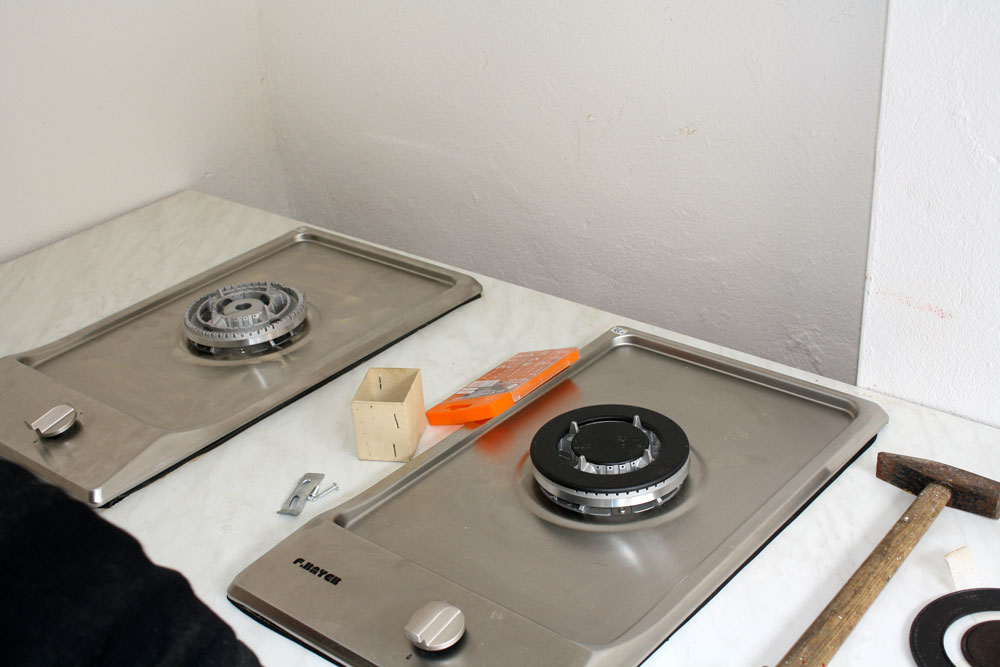
As usual, we are going the more extreme route and have bought new gas burners for this project. Unfortunately I found out we could have had an entire gas stove and oven set via FreeCycle the day that we finished putting all this in…but so it goes. At least with new equipment we know there are no leaks or problems and can feel safe working with the propane tanks under the counter. Plus when you’re using a huge canner on the stove, you don’t have room for much else so we wanted to be sure they would sit well on the burners and that we could run two at a time if we wanted. That’s why we selected two single burner gas panels. We have each one hooked up to its own propane tank underneath the counter.
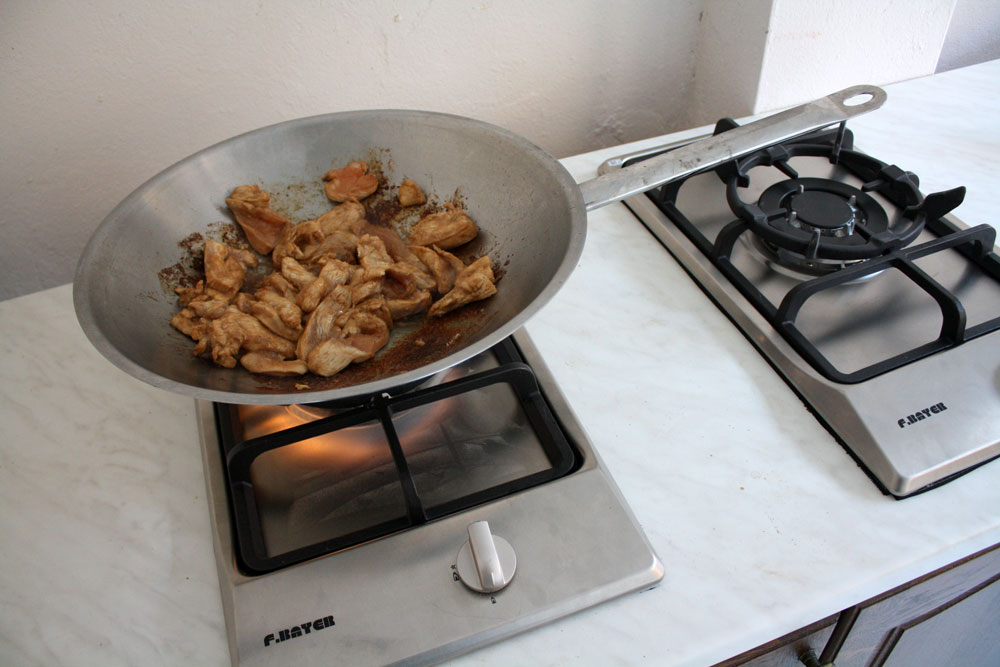
We were so excited about having the kitchen installed that we decided to cook on it Saturday night. It’s going to take us a while to get used to cooking on gas again (we did it for a while here on the farm using our camping stove as we waited for our granite counters to arrive.) The food got a little scorched but it was still edible. It’s insane how quickly gas gets HOT!
We will probably install a sink down at the far right end so we have running water in there which will be very useful for cleaning the harvest and canning. It won’t leave a ton of counter space but that’s why we’re going to have a nice big table and bench on the other side of the room. We are also thinking about painting the cabinets dark green which would match most of the doors around the exterior of the farm. We think this will tie everything together really nicely when coupled with new door knobs. 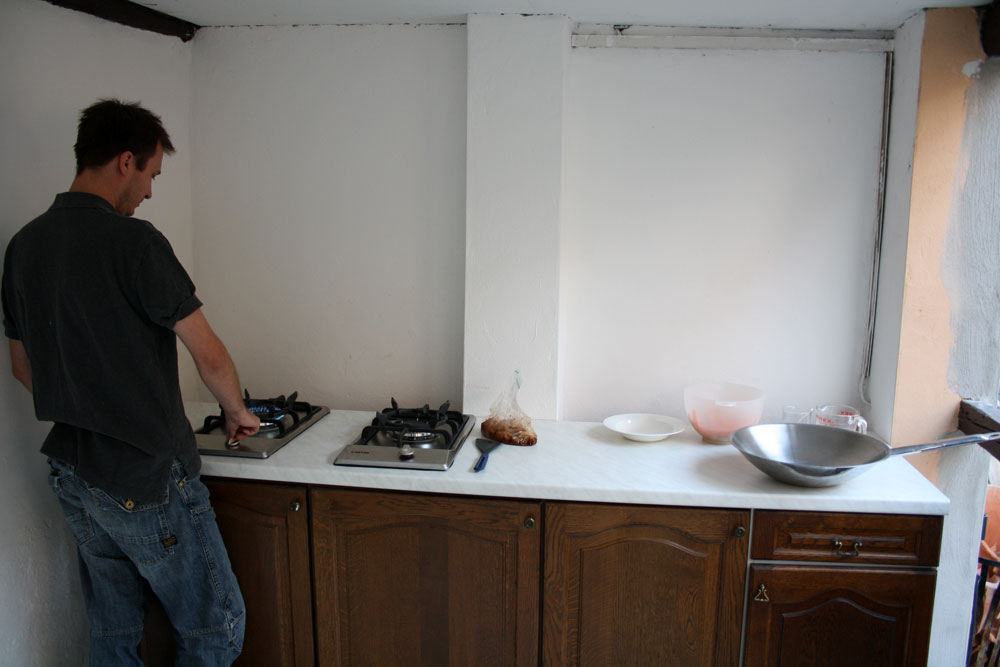
We’re also going to construct a step at the back of the counter from drywall because there is a 5-inch gap between the counter and the wall (on either side of that column in the middle.) Then we mount 1 or 2 shelves on the wall for jars to cool or those that are ready for use.
Bench construction will begin tomorrow. Stefan has the day off because I need to go to the dentist and last time I went Mackenzie cried for the entire hour I was in the chair. I don’t want his staff to have to deal with that again so I’m bringing reinforcements. So be on the lookout for the next installment of building a harvest kitchen – the yuppie way. 😉


What a great way to use your extra space! Thanks for sharing this. Not only is it great idea for harvest time, but it looks like the perfect place for summer evening get-togethers. I’m looking forward to seeing the rest.
Cheers, Sig
Those burners are neat! I’ve never seen anything like them.
You will love having those shelves over the wall, even just for decoration.
@Siggie – We’re absolutely hoping it will be the perfect place to relax and enjoy all our grilling and other food endeavors. We’ll be testing it out for the first party in a little over a week and we can’t wait!
@Jennifer – The burners are far exceeding our expectations. They are SO nice. Cooking with gas is just a whole other world.
I’m also really looking forward to adding the shelves. It’s really going to complete that part of the room.